How to Build a Root Cellar on a Budget

In an era of rising grocery prices, unpredictable supply chains, and a growing interest in self-sufficiency, having a reliable food storage solution is more valuable than ever. One of the most effective and traditional ways to store produce long-term without electricity is a root cellar — a simple, cool, humid space ideal for storing root vegetables, apples, squash, and more.
In this guide, we’ll walk you through building an affordable root cellar step-by-step, share tips for maximizing storage life, and show you how pairing your root cellar with smart food planning (like The Lost Superfoods by Claude Davis) can transform your preparedness strategy — without blowing your budget.
What Is a Root Cellar — And Why You Should Build One
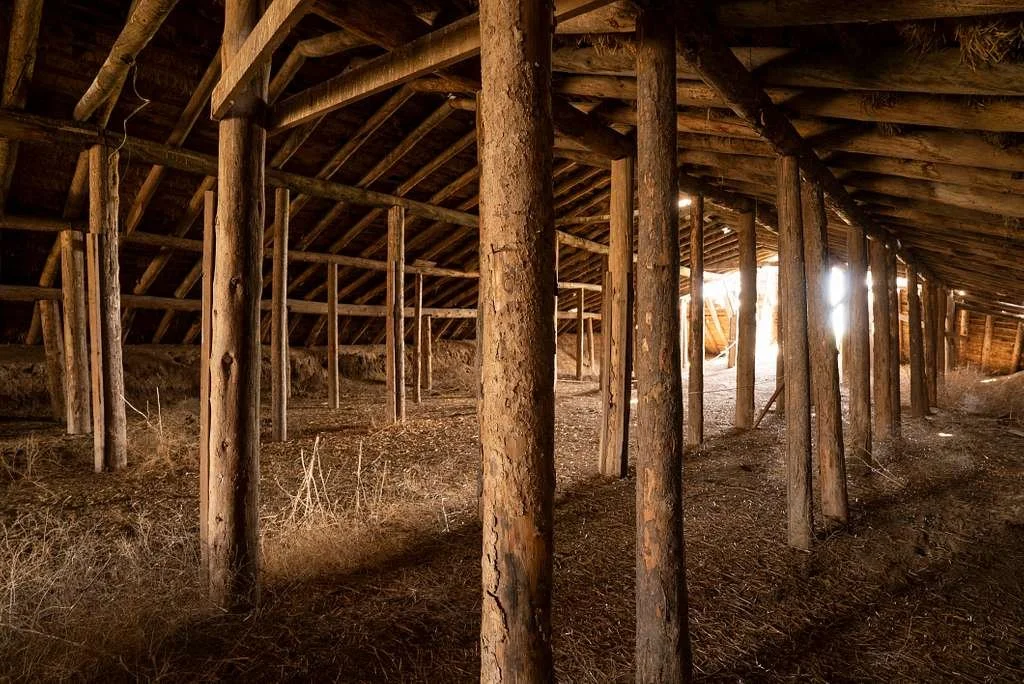
A root cellar is essentially an underground storage space that uses the natural cooling and insulating properties of the earth to preserve food. Historically, people relied on them year-round to get through winters and lean seasons — long before refrigerators or freezers existed.
Benefits of a root cellar:
Cost-effective long-term storage
Energy-free preservation
Extends the shelf life of produce
Ideal for emergency preparedness and homesteading
When combined with knowledge of nutrient-dense, shelf-stable foods (like the foods featured in The Lost Superfoods by Claude Davis), you not only save money — you build resilience.
Curious how ancestral superfoods can boost your food security alongside a root cellar? Discover what you need in The Lost Superfoods.
How a Root Cellar Works (In Simple Terms)
Rather than relying on electricity, a root cellar leverages:
Cool Earth Temperatures — underground temperatures stay consistently cool.
High Humidity — helps prevent produce from drying out.
Insulation from Temperature Fluctuations — keeps food stable for months.
Most root cellars aim for a temperature range between 32°F and 45°F (0–7°C) with 85–95% humidity — perfect for storing:
Potatoes
Carrots
Beets
Cabbage
Apples
Onions
Winter squash
Learn which foods offer the highest nutritional value and longest pantry life in The Lost Superfoods.

Budget Planning: Materials and Tools You’ll Need
Before you start digging, let’s break down what you’ll need without overpaying:
Essential Materials
Pressure-treated lumber (for framing)
Concrete blocks or bricks (for walls)
Gravel and drainage pipe
Plywood or metal roof covering
Ventilation pipe and screen
Plastic vapor barrier
Sand or straw (optional for insulation)
Tools You Might Already Have
Shovels
Level
Tape measure
Hammer or power drill
Saw for cutting lumber
Wheelbarrow
You can reduce costs by sourcing reclaimed lumber or scavenging materials from auctions, salvage yards, or classified ads.
Step-by-Step: Building Your Budget Root Cellar
1. Choose the Right Location
Look for:
Level ground
Slight slope (for water runoff)
Near your house or garden
Good drainage
Avoid low spots that collect water — moisture is great for produce, but not flooding.
2. Dig the Hole
A typical budget cellar is roughly 6–8 feet deep — deep enough to benefit from earth’s insulation. Adjust based on your soil type and climate.
Tip: Building next to a hillside can reduce digging costs significantly.
3. Prepare the Foundation
Spread gravel on the floor to improve drainage. Level it.
Pour a small concrete slab if you want a firm walking surface (optional but helpful).
4. Build the Walls
Use concrete blocks or reclaimed bricks to build sturdy walls. Make sure:
Walls are plumb (vertical)
Blocks are level
You allow for proper window/vent openings
Fill block cores with gravel or concrete for stability.
5. Insulate and Waterproof
Cover walls with a plastic vapor barrier to reduce moisture from entering the space.
Add insulation if your region has extreme temperature swings.
6. Construct the Roof
Roof options to maximize budget:
Reclaimed wood and corrugated metal
Plywood covered with roofing felt
Heavy plastic sheeting with soil on top
Ensure the roof is waterproof and sloped to divert rain. You want minimal moisture infiltration.
7. Ventilation Is Essential
Good airflow prevents rot and keeps temperatures stable.
Install:
Lower vent near floor level (brings in cool air)
Upper vent near ceiling (hot air escapes)
Use screened pipe to keep out pests.
8. Add Shelving and Storage
Build simple shelving from scrap lumber or pallets. Stack crates to keep produce off the floor.
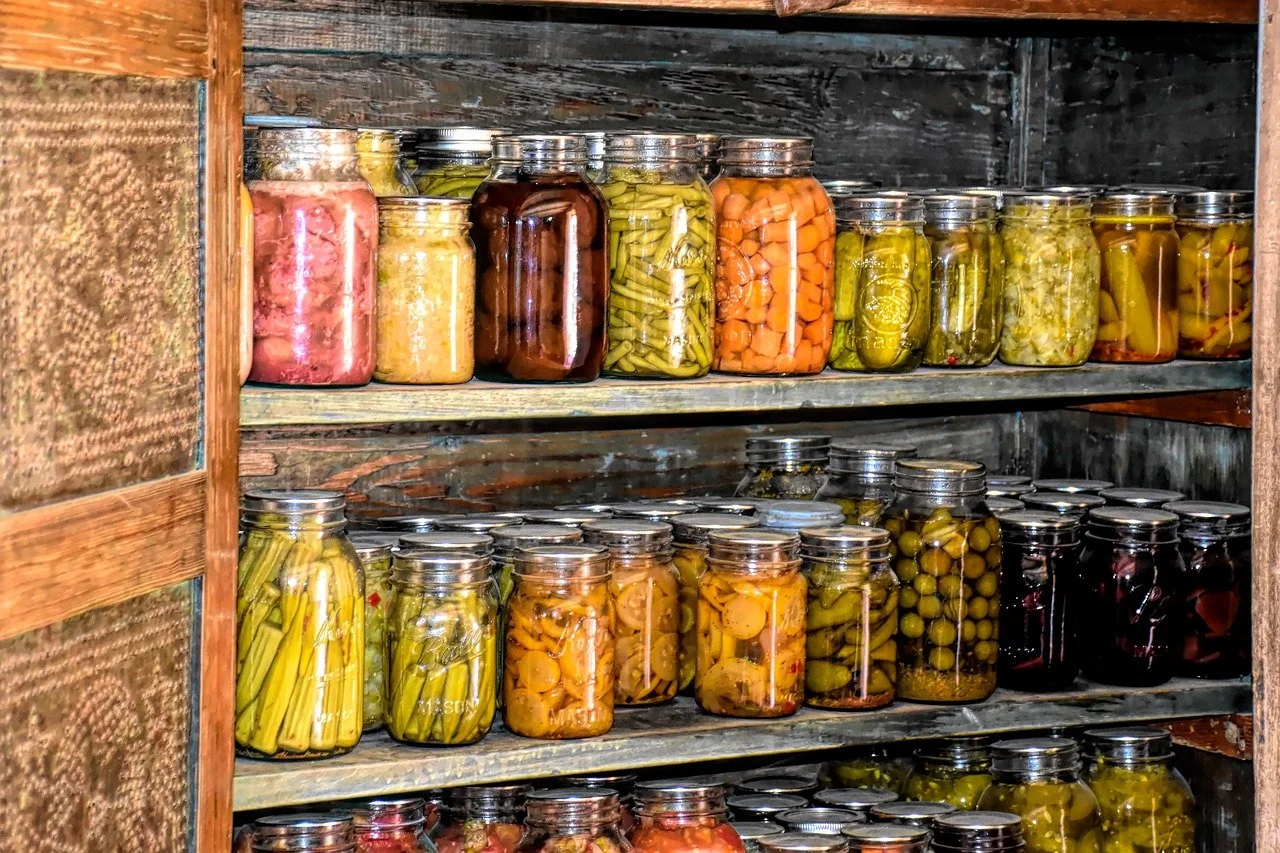
Storing Foods the Right Way
With your root cellar built, the next step is stocking it with the right foods.
▶ Root vegetables and tubers
▶ Apples and pears
▶ Winter squash
▶ Cabbage
▶ Onions and garlic
But what if you want nutrient-dense superfoods that also store well and boost health?
Find a list of powerful, long-lasting foods in The Lost Superfoods — a guide to the high-impact foods most people overlook.
Tips for Maximum Shelf Life
Check produce regularly
Remove spoiled items immediately
Store similar items together
Use breathable containers (crates, bins)
Monitor temperature and humidity
Using a Root Cellar for Preparedness
Having a root cellar isn’t just about storage — it’s about preparedness.
Whether you’re:
Reducing grocery bills
Preparing for emergencies
Growing your own garden
Homesteading
Your root cellar becomes a cornerstone of self-sufficient living.
To take preparedness further, pairing your storage with foods that offer maximum nutrition — especially during hard times — gives you an edge.
Explore nutrient-dense “survival foods” and smart food planning strategies in The Lost Superfoods.
Root Cellar FAQs
Q: How long can I store food in a root cellar?
A: Depending on the food and conditions — from weeks to months. Potatoes and apples can last most of the winter in ideal conditions.
Q: Do I need electricity?
A: No! The whole point of a root cellar is zero energy preservation.
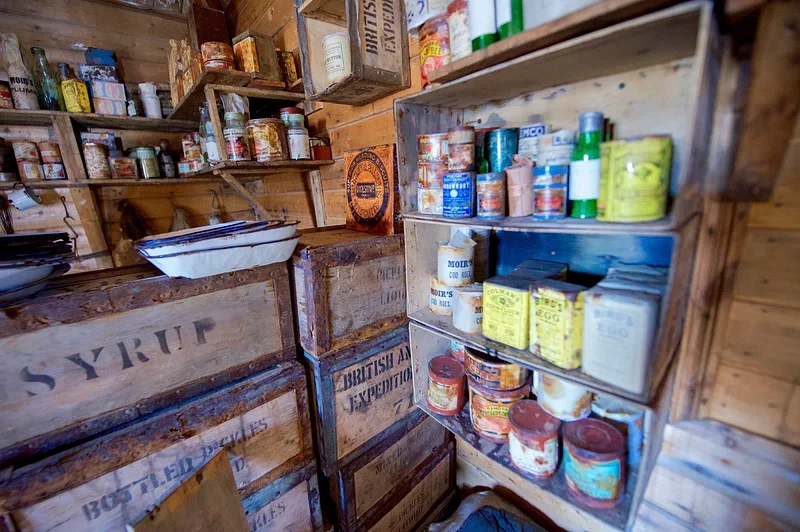
Q: Can I store canned goods?
A: Yes, but make sure the temperature is steady and not freezing.
Q: What if my soil is too sandy or wet?
A: Adding drainage layers (gravel trench) and using concrete block walls can help reduce moisture problems.
Final Thoughts
Building a root cellar on a budget is one of the most cost-effective ways to improve food security, extend harvest life, and embrace self-sufficiency. With a little planning, some elbow grease, and common materials, you’ll have storage that can outlast any refrigerator outage — and support your family for months.
But smart storage isn’t just about space — it’s about what you store.
Prepare smarter — not harder — with insights from The Lost Superfoods by Claude Davis.